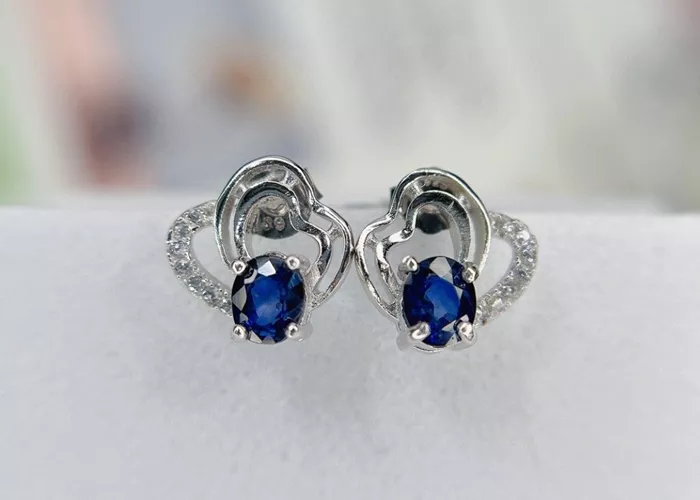
Star sapphires are a unique variety of sapphire gemstones known for their mesmerizing star-like effect on the surface. This phenomenon, known as asterism, occurs when needle-like inclusions of rutile are present inside the sapphire. Polishing star sapphires requires specialized care and attention, as the star must be preserved while enhancing the gemstone’s natural beauty. In this article, we’ll explore the detailed process of polishing star sapphires, from preparing the stone to achieving the perfect finish.
Understanding Star Sapphire
Before diving into the polishing process, it is essential to understand the structure and unique characteristics of a star sapphire. Star sapphires are a variety of sapphire that displays a star-shaped pattern on their surface. This star effect occurs due to the presence of rutile inclusions within the gemstone. These inclusions are arranged in a way that reflects light, creating a star when viewed from above.
The most important thing when polishing star sapphires is to preserve this asterism. The star should be clearly visible and not diminished during the polishing process. Therefore, it is essential to approach the polishing with great care, ensuring the finish does not blur or obscure the star.
The Polishing Process
1. Gather the Necessary Tools
To begin the polishing process, you will need a few essential tools and materials:
-
Rotary tool or polishing machine: This tool will help you achieve a smooth, consistent finish.
-
Polishing compound: Use a fine polishing compound like cerium oxide or diamond paste. These compounds will help bring out the shine without damaging the stone.
-
Cloth or polishing wheel: A soft, lint-free cloth or a polishing wheel will ensure an even and careful application of the compound.
-
Water or polishing solution: Keep the sapphire damp to prevent overheating, which can cause damage to the gemstone.
2. Cleaning the Star Sapphire
Before you begin polishing, it is crucial to clean the star sapphire thoroughly. Any dirt or oils on the surface can interfere with the polishing process and lead to uneven results. Use a mild soap solution and a soft brush to gently clean the sapphire. Rinse the stone thoroughly with clean water and dry it with a soft cloth.
3. Preparing the Stone
Once the stone is clean, inspect it for any scratches, nicks, or imperfections. Minor scratches can be removed using a finer abrasive, but avoid aggressive techniques as they could alter the star pattern. If there are larger imperfections, consider seeking professional help before attempting to polish the sapphire yourself.
4. Applying the Polishing Compound
Now it’s time to apply the polishing compound. Use a small amount of cerium oxide or diamond paste and apply it to the cloth or polishing wheel. Start with a low-speed setting on your rotary tool to avoid putting too much pressure on the stone. Gently buff the sapphire, moving in small circular motions. Ensure that the star pattern remains visible throughout the polishing process.
5. Polishing the Surface
As you continue to polish, periodically check the star pattern. If the star begins to fade, stop immediately and adjust the polishing technique. It is essential to maintain a light touch during this process. Heavy polishing can cause the rutile inclusions to be blurred, thus diminishing the star effect.
6. Inspecting the Results
After polishing, examine the star sapphire under different lighting conditions. The star should be clearly visible and well-defined. If necessary, repeat the polishing process using a finer compound to achieve a higher shine or to refine the star.
Caring for Star Sapphire Jewelry
Once you have polished your star sapphire, it is essential to maintain its luster and beauty.
Here are some tips for caring for your star sapphire jewelry:
-
Avoid harsh chemicals: Clean your star sapphire jewelry with mild soap and warm water. Harsh chemicals or cleaning agents can damage the surface.
-
Store carefully: Keep your star sapphire in a safe place where it is not likely to be scratched or damaged. Use a soft cloth pouch or a jewelry box with separate compartments.
-
Regular inspections: Over time, check your star sapphire for any signs of wear, scratches, or loose settings. Regular maintenance will help keep it looking its best.
Why Professional Polishing May Be Necessary
While the steps outlined above can be followed by most jewelry enthusiasts, polishing star sapphires can be tricky, especially for those without experience. Professional jewelers have the knowledge and equipment to handle the complexities of star sapphire polishing, ensuring that the star is preserved and the surface is perfectly finished.
In some cases, the asterism of the stone may not be well-defined, or there may be significant inclusions that require specialized techniques to enhance the star effect. A professional jeweler can also assess the overall condition of the sapphire and determine if additional treatments are necessary.
Conclusion
Polishing star sapphires is a delicate process that requires patience, precision, and the right tools. By following the steps outlined in this article, you can enhance the beauty of your star sapphire while preserving its unique star-shaped effect. Whether you’re a beginner or an experienced jeweler, the key is to approach the process with care and attention to detail. With the right techniques, you can achieve a beautifully polished star sapphire that will shine for years to come.
Related topics:
- How Long Do Blue Sapphires Last? A Complete Guide
- Is Sapphire Scratch-Resistant? Everything You Need to Know
- Activate the Magic of Blue Sapphire: Tips and Secrets


